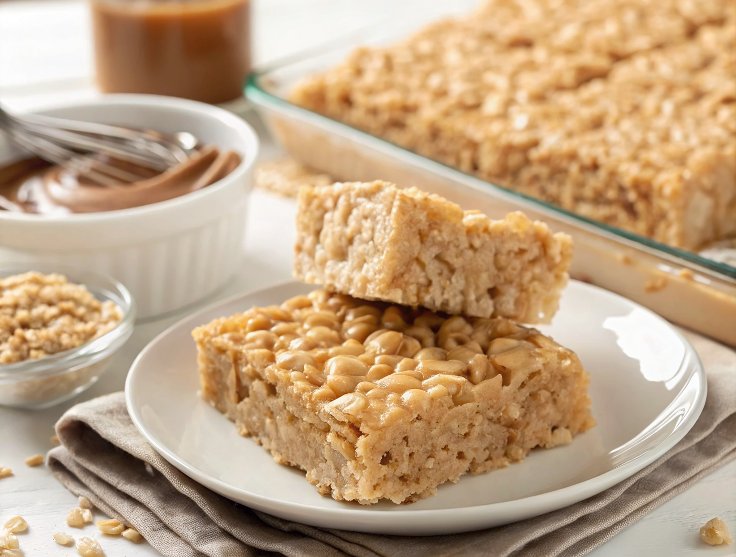
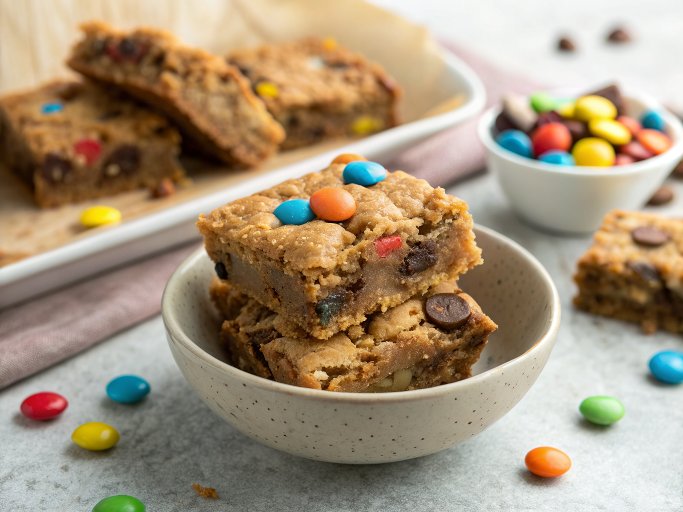
A yummy twist on a classic, these peanut butter rice krispies treats perfectly blend salty with sweet and crispy with gooey. Ready, set, treat yourself!
191 kcal
/serving
20 min
Serves
24
Easy
American
Ingredients
- 12 tbsp (1 1/2 sticks) unsalted butter
- 1/2 cup smooth peanut butter ( I recommend Skippy Natural Creamy Peanut Butter; do not use freshly ground or chunky)
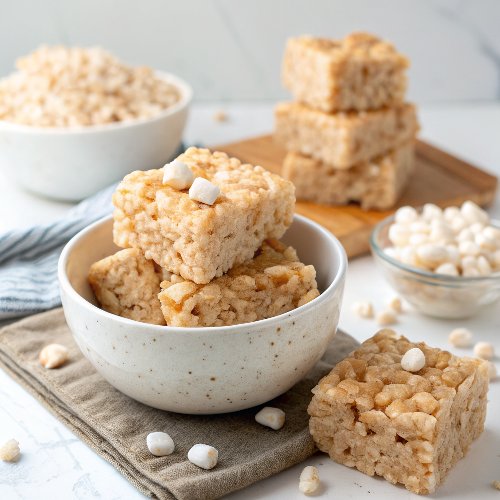
- Two 10-oz bags mini marshmallows, divided
- 1 tsp vanilla extract
- Heaping 1/2 tsp salt
- 7 cups (1680ml) Rice Krispies or crispy rice cereal
Preparation
Not specified
Cooking
- Line a 9x13-inch (23x33cm) pan with heavy duty aluminum foil and lightly grease with softened butter or nonstick cooking spray.
- Set aside 2 cups (480ml) of the marshmallows.
- In a large pot or Dutch oven, preferably with a light bottom so you can monitor the color, melt the butter over medium heat (save the butter wrappers; you'll use them later for pressing the mixture into the pan).
- Swirl the pan occasionally to be sure the butter is cooking evenly.
- As the butter melts, it will begin to bubble and foam, and the color will progress from bright yellow to golden to, finally, a toasty-brown.
- Once you smell that nutty brown butter aroma, take the pan off the heat.
- (You'll see little bits of golden-brown sediment forming; that's okay.
- However, if the sediment looks almost black, pass the butter through a fine sieve to strain it out, then return the brown butter to the pan.) Stir in the peanut butter.
- Off the heat, add the remaining marshmallows, vanilla, and salt.
- Place the pot back over medium heat and stir the mixture with a wooden spoon until the marshmallows are completely melted.
- Remove the pan from the heat and add the cereal.
- Using a rubber spatula or wooden spoon, stir until evenly combined.
- Add the reserved marshmallows and stir until they are softened and partially melted.
- Don't overmix; you want pockets of goo.
- Transfer the mixture to the prepared pan and, using the butter wrapper or damp fingers, press the mixture gently into an even layer in the prepared baking pan.
- Let cool at room temperature for at least an hour.
- Use the foil overhang to lift the treats onto a cutting board, then use a serrated bread knife to cut into squares.
- Store in an airtight container at room temperature for up to 5 days.
- Freezer-Friendly Instructions: To freeze, place in layers separated by wax paper in an airtight container.
- Freeze for up to 6 weeks.
- Let stand at room temperature for about an hour before serving.
Plating & Serving
Not specified
Suggested Sides
Nutrition per Serving
191
Calories
2.2g
Protein
2% DV
27.6g
Carbs
9% DV
8.7g
Fat
11% DV
0.3g
Fiber
1% DV
15.0g
Sugars
104mg
Sodium
7% DV
15mg
Cholesterol
4% DV
| Health Labels | Low Potassium Kidney Friendly Wheat Free Egg Free Tree Nut Free Soy Free Fish Free Shellfish Free Pork Free Red Meat Free Crustacean Free Celery Free Mustard Free Sesame Free Lupine Free Mollusk Free Alcohol Free |
* Daily Values based on a 2,000 calorie diet.
Copy to your calorie tracker:
Recipe Details